Making Haze
An Endeavor Into Modeling Landscapes
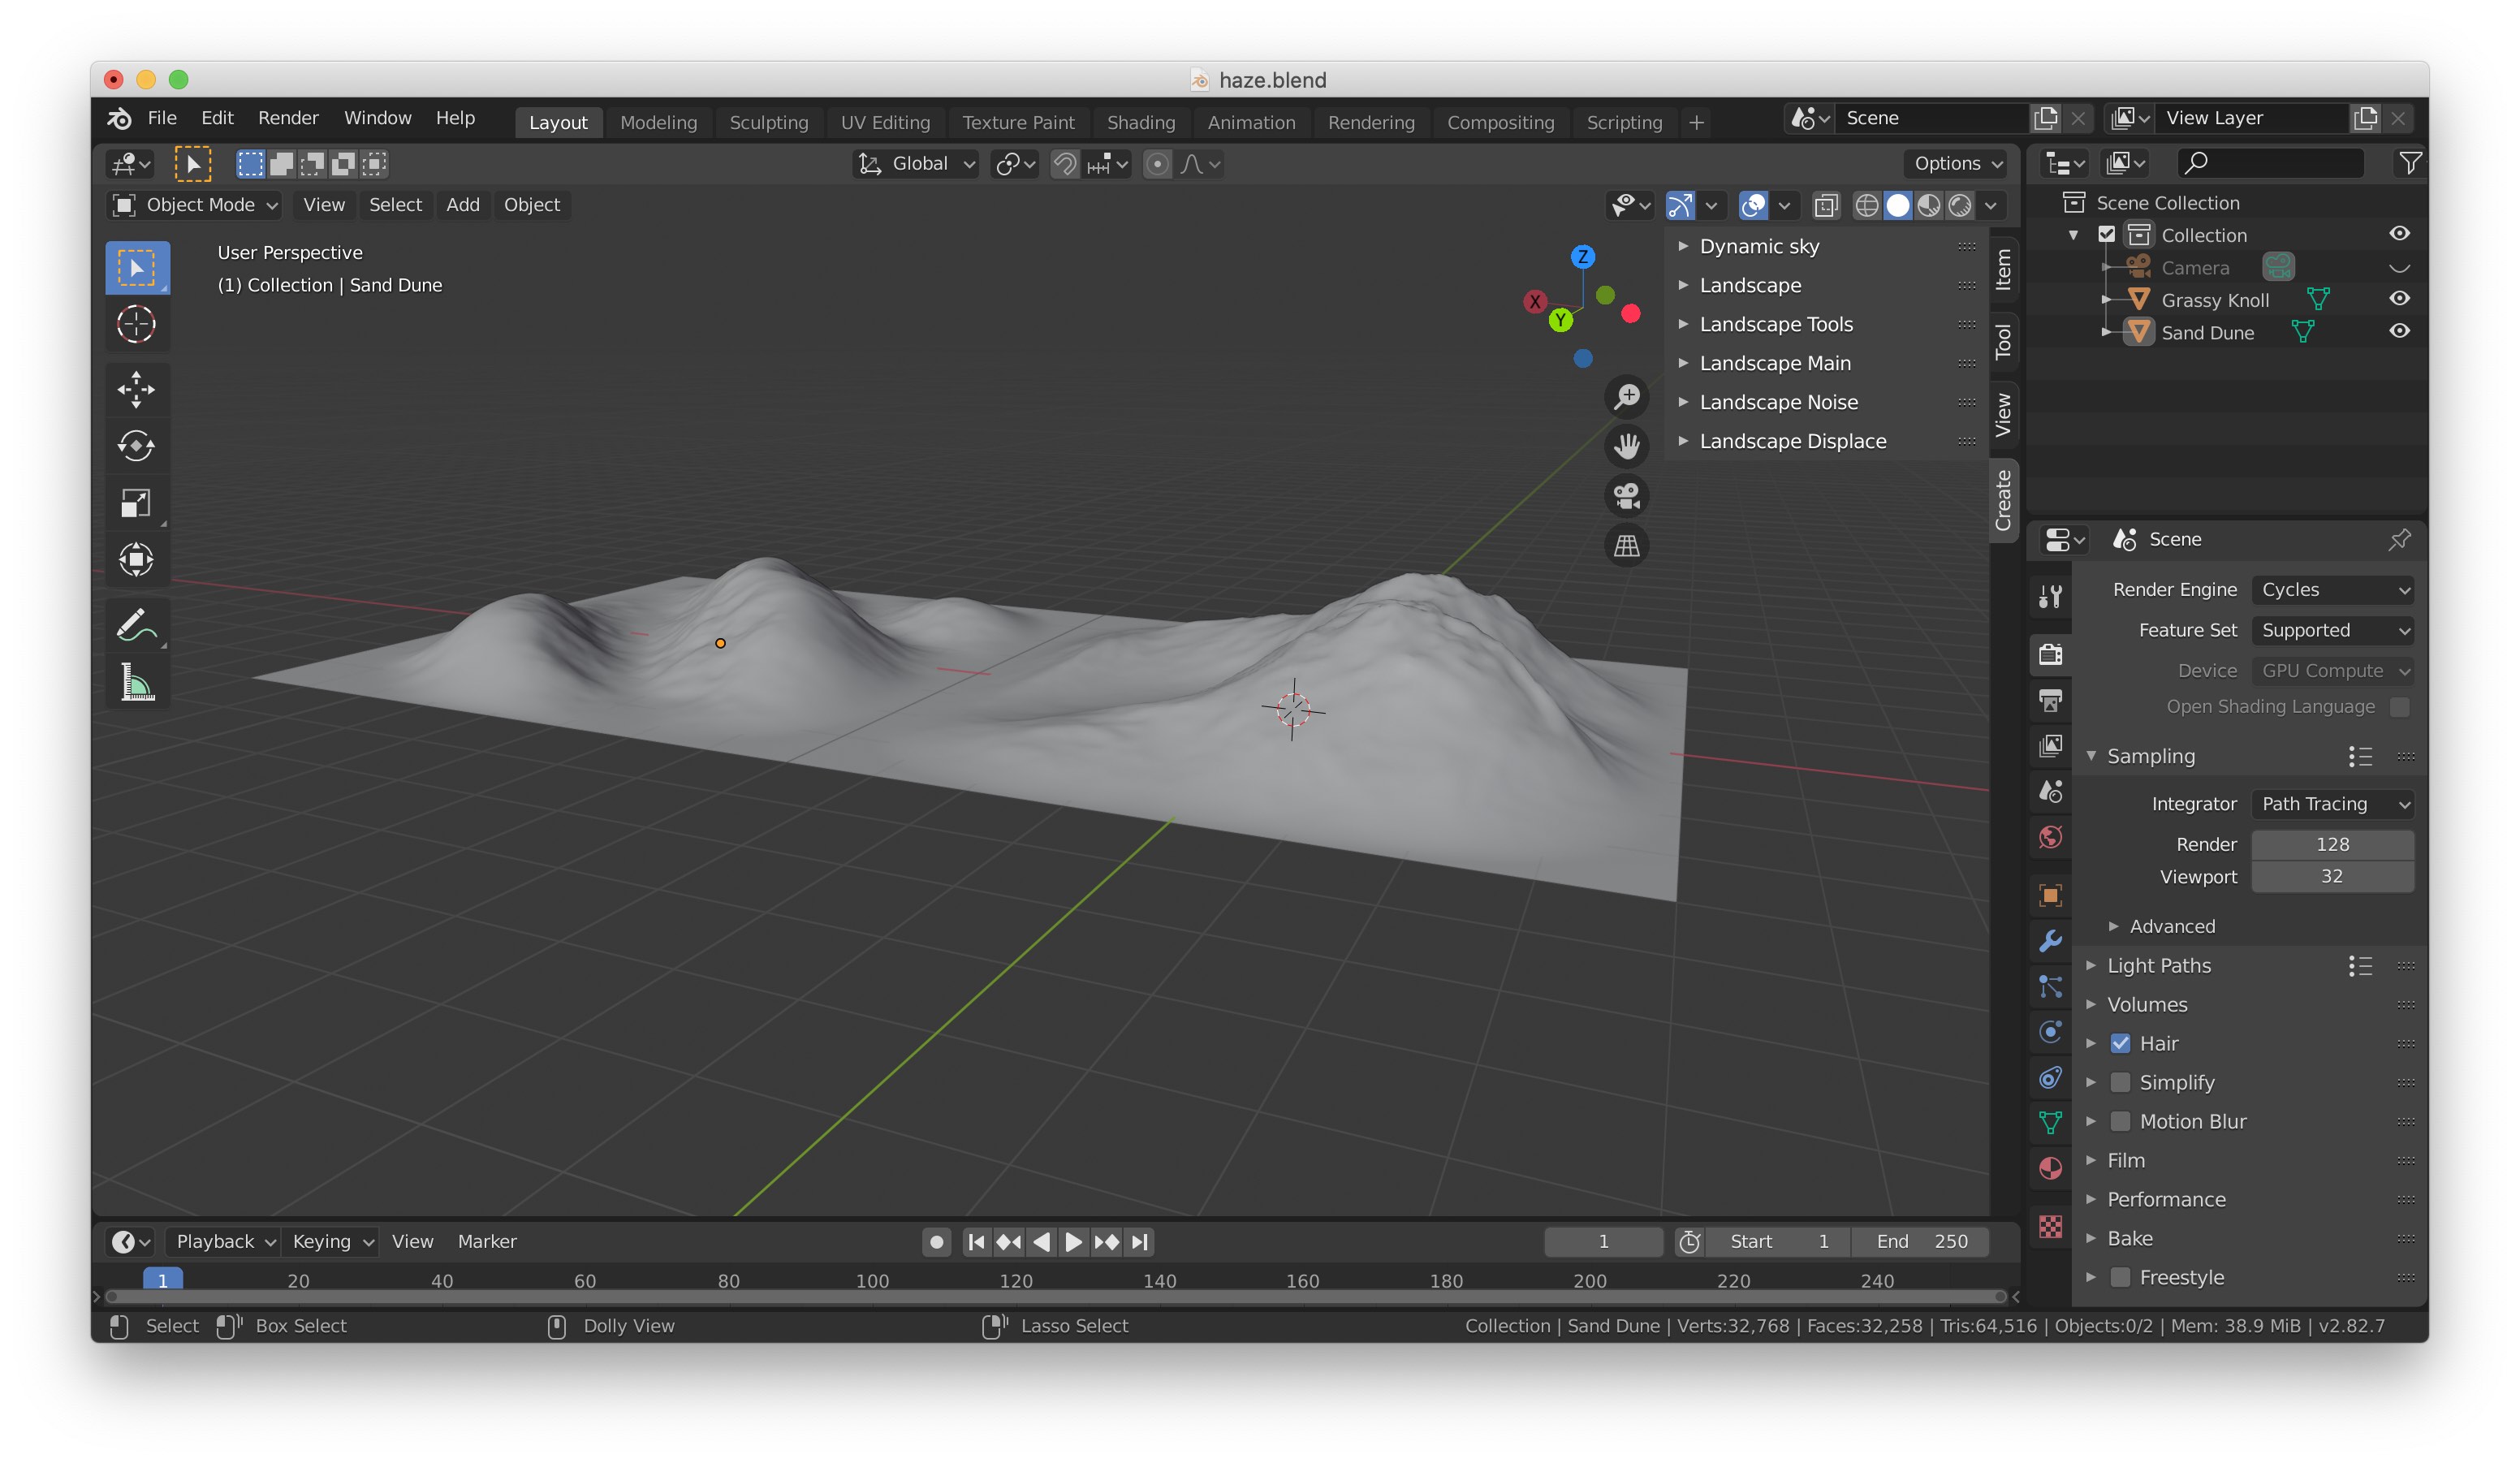
As another 3D project to help me build some skill in Blender, I wanted to try my hand at capturing landscape shots. Like usual, I get a general idea of how others bring similar ideas to life, so I perused a number of YouTube videos to discover how some ways to model landscapes using Blender. It looked like a literal "Landscape" add-on exists in Blender that, once enabled, lets us add a plane to the scene that's modified by certain parameters to give it a natural looking appearance. That's exactly what I needed. But, how do I add a nice sky?
It was then that I looked up how people often add skies to their scenes. A popular method used in modeling and gaming is to use a skybox or skydome, but, sure enough, Blender has another add-on called "Dynamic Sky" that provides an interface that's more quick to set up than manually creating a skybox.
I installed this and the Landscape add-on and started playing around with the parameters for each to get a kind of scene that I wanted. The next and arguably hardest step was to texture the landscapes so that they had another level of realism beyond a single colored material with some BSDF parameters. I made two landscapes, and I wanted them to appear as if they were made of sand and grass, respectively. To bring my grassy knoll and sand dunes to life, I wanted to unwrap the geometries and texture them in another program like I did my credit card, but these landscapes were amorphous, so it'd be tough to texture them well outside of Blender.
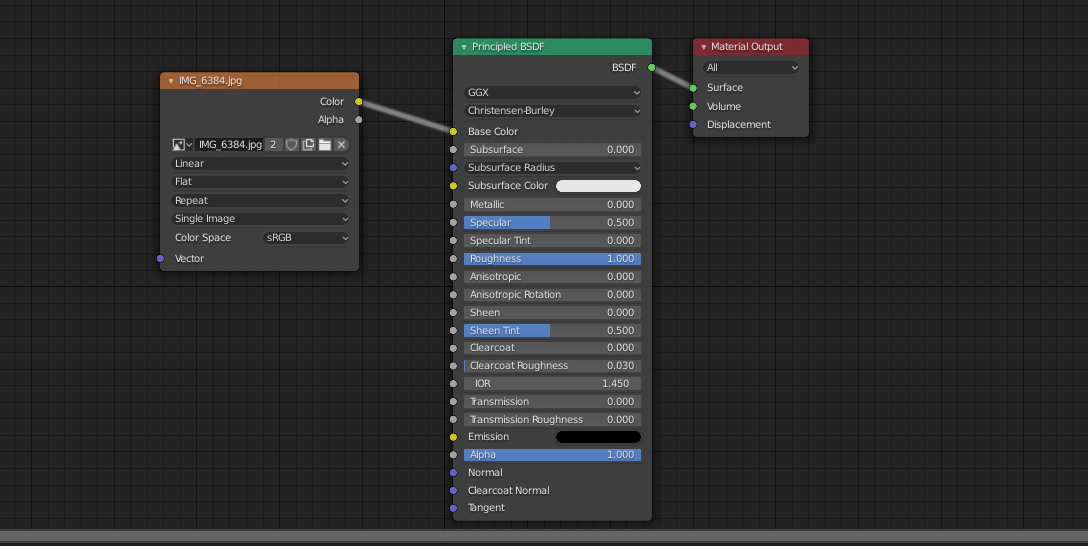
I remembered seeing someone on YouTube "draw" an image onto a material before, so I searched how to do just that. I quickly learned that the functionality I was looking for is called "texture painting". After some research, I figured out that I'd need to grab some textures myself or buy them from a marketplace. Just for the fun of it, I went outside and took a couple of pictures of grass near me and found an old picture of some beach sand I'd taken a while back. I uploaded these into Blender and painted a couple of these textures I'd made onto their respective landscapes.
When learning how to texture paint, I noticed that I need to export the resulting texture that I was painting on so that I can later apply it on to the material to be seen when rendering. This was a familiar flow, as, again, I'd done something similar in my credit card project. A detail I took advantage of when applying these textures is making sure to make each landscape's material pretty rough so that they scatter light well, like real natural landscapes.
Once I'd gotten that done, all that was next was making final tweaks to the scene and positioning the camera where I wanted it for renders. Originally, I wanted to render some short animations of the scene, but I noticed that it takes a while for just one frame to render after rendering a test image. With this in mind, I settled for taking a couple of still images so that I didn't have to wait hours like I did waiting for The Orb to render.
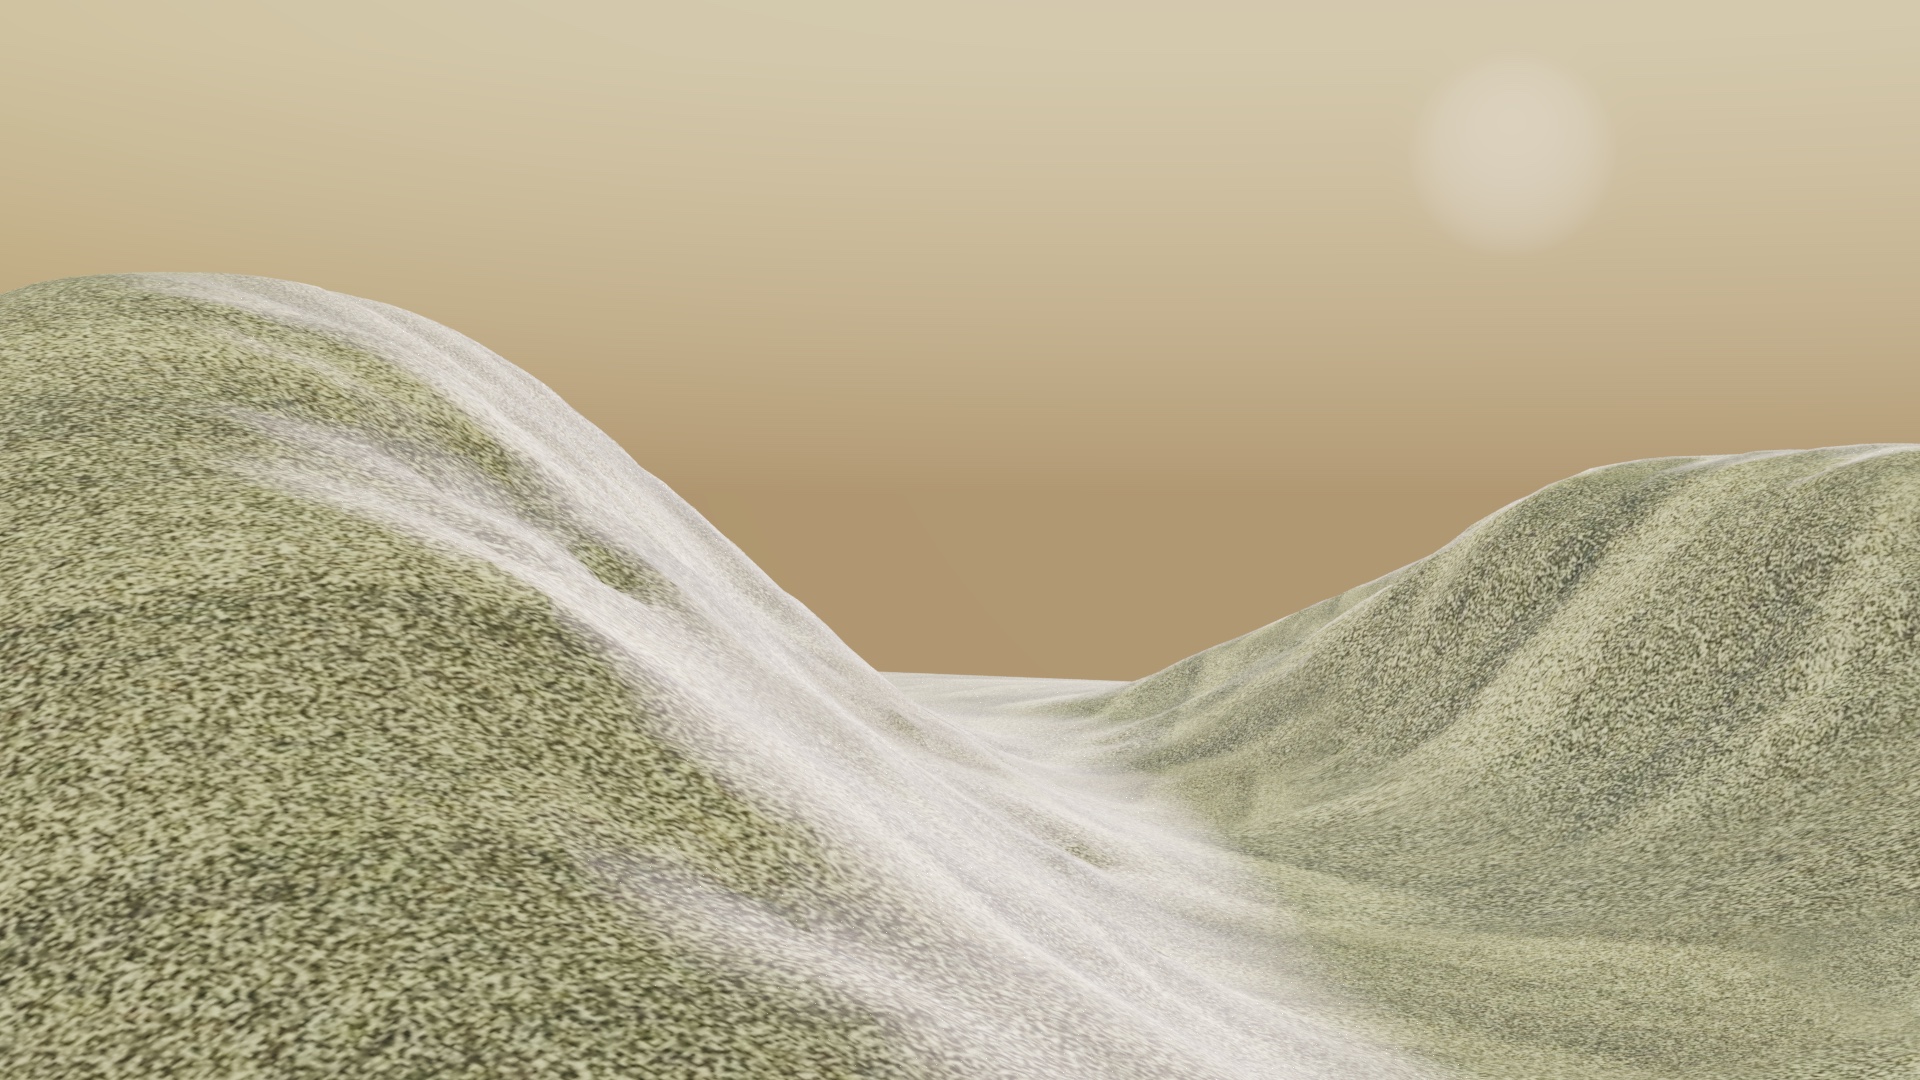
If you'd like to see more, check out the page on my art site. Ultimately, I think this was a pretty fun project. I'll be experimenting with more landscape shots of all kinds in the future, and I think this was an awesome start.
Tools Used
- Blender - Modeling, texturing, and rendering the entire scene
Things Learned
- How to use the Dynamic Sky add-on in Blender
- How to use the Landscape add-on in Blender
- How to texture paint meshes in Blender
- Shortcuts for snapping the camera to the current viewport in Blender