How 3D Design Works
The Basics of Modeling, Design & Animation
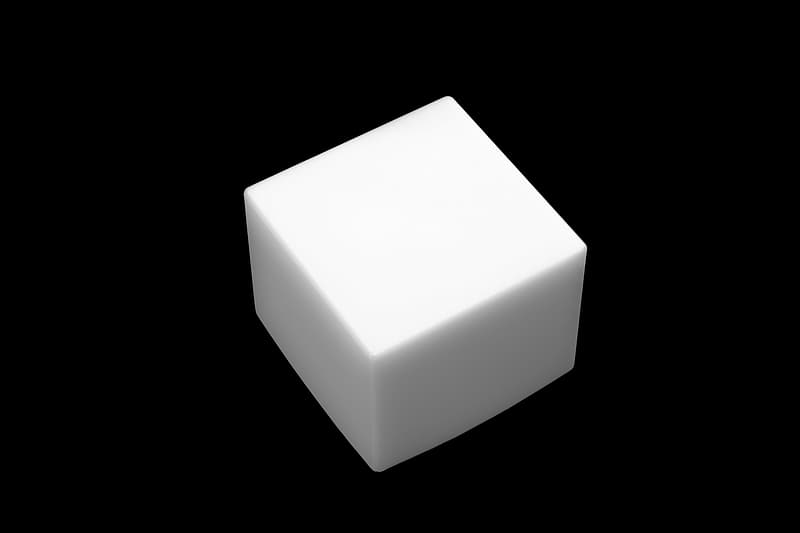
All applications of 3D design consist of the same basic properties. Modeling, VFX, and animation are each made of scenes that are constructed with objects that emulate those of the real world. By mimicking real-world conditions, we're able to get realistic-looking scenes. To see how components of physical and virtual scenes can create very similar appearances, we'll use light, shape, material, and camera positioning to make something that looks like this real-world photo of a cube using Blender, although it can be done it all kinds of 3D design software.
1. Construcing the Scene
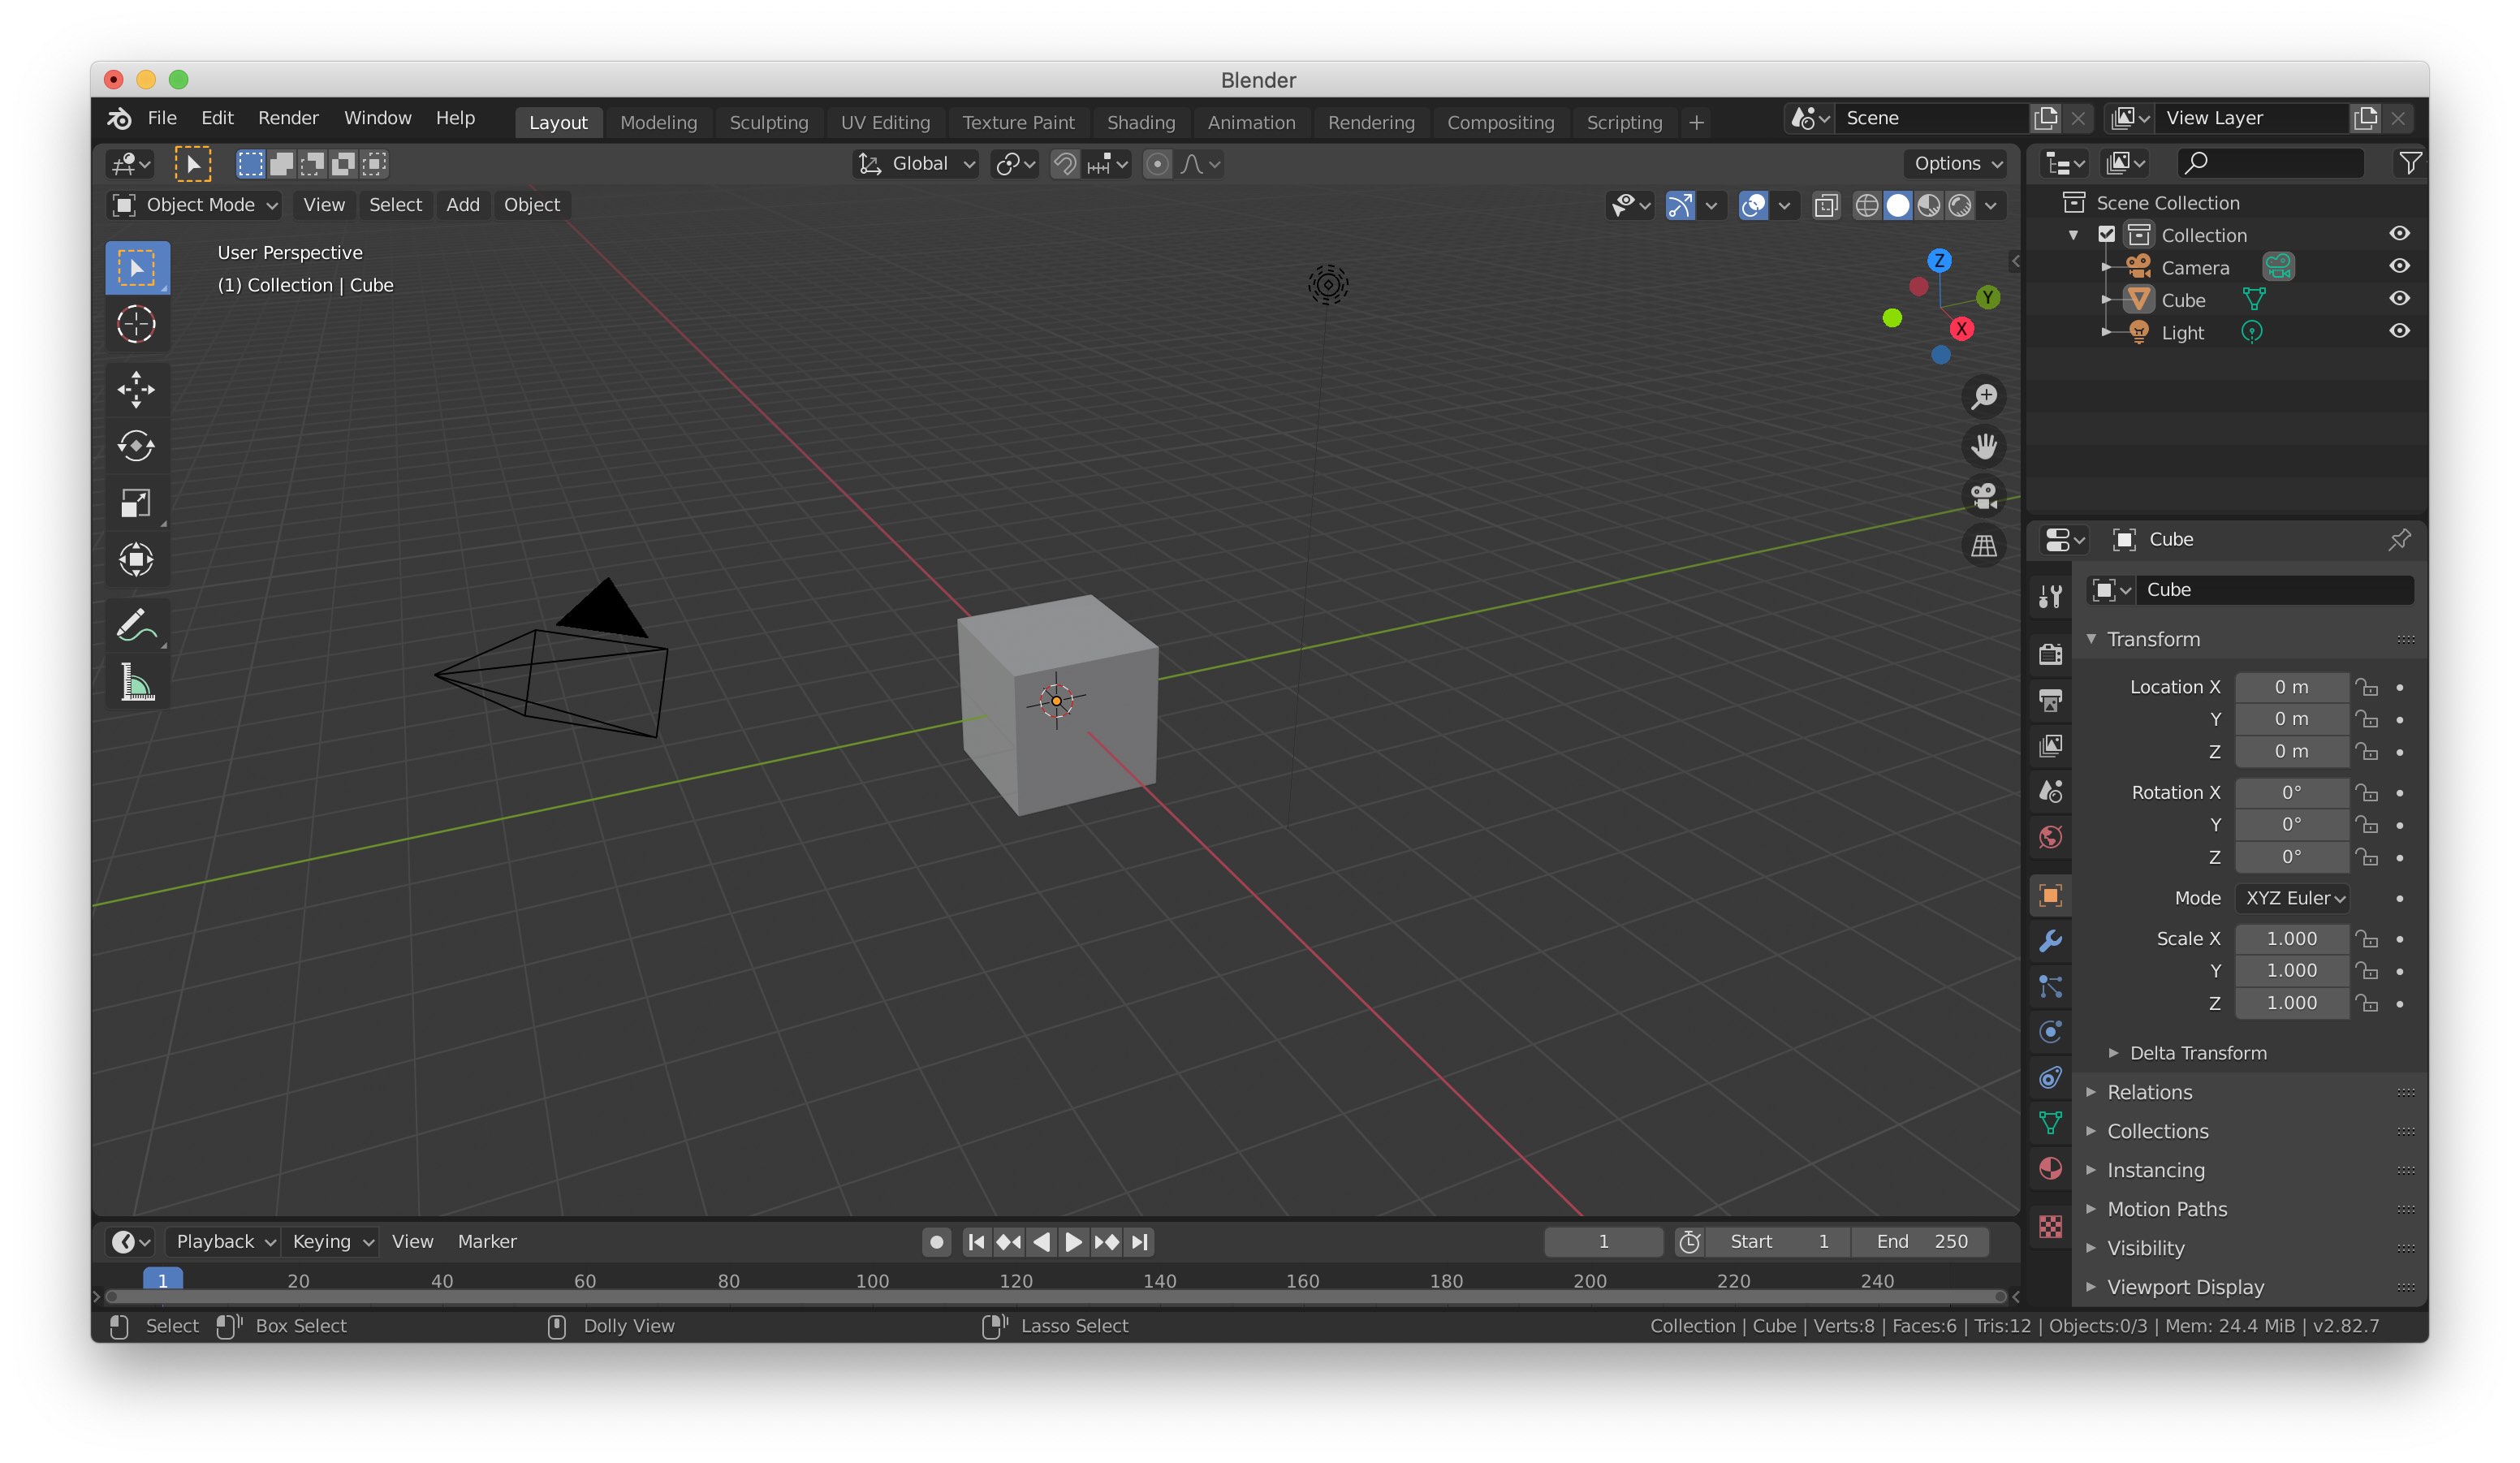
Our first step is to open Blender and add whatever items we need to the scene. In our reference photo, the only thing visible is a cube, so we add that to our scene. But, we also need to add other things like the light source that's casting rays onto the cube and the camera that's capturing the photo.
Normally, we don't think about lighting or perspective unless we're already familiar with visual art forms like photography, drawing, painting, and more. 3D design is no different from these forms in that we have to add everything that makes the scene what it is, to the scene.
2. Change Our Perspective
To help make our changes to the scene more accurate, we'll look at it from a similar perspective as what's provided in the reference image.
3. Materials and Shading
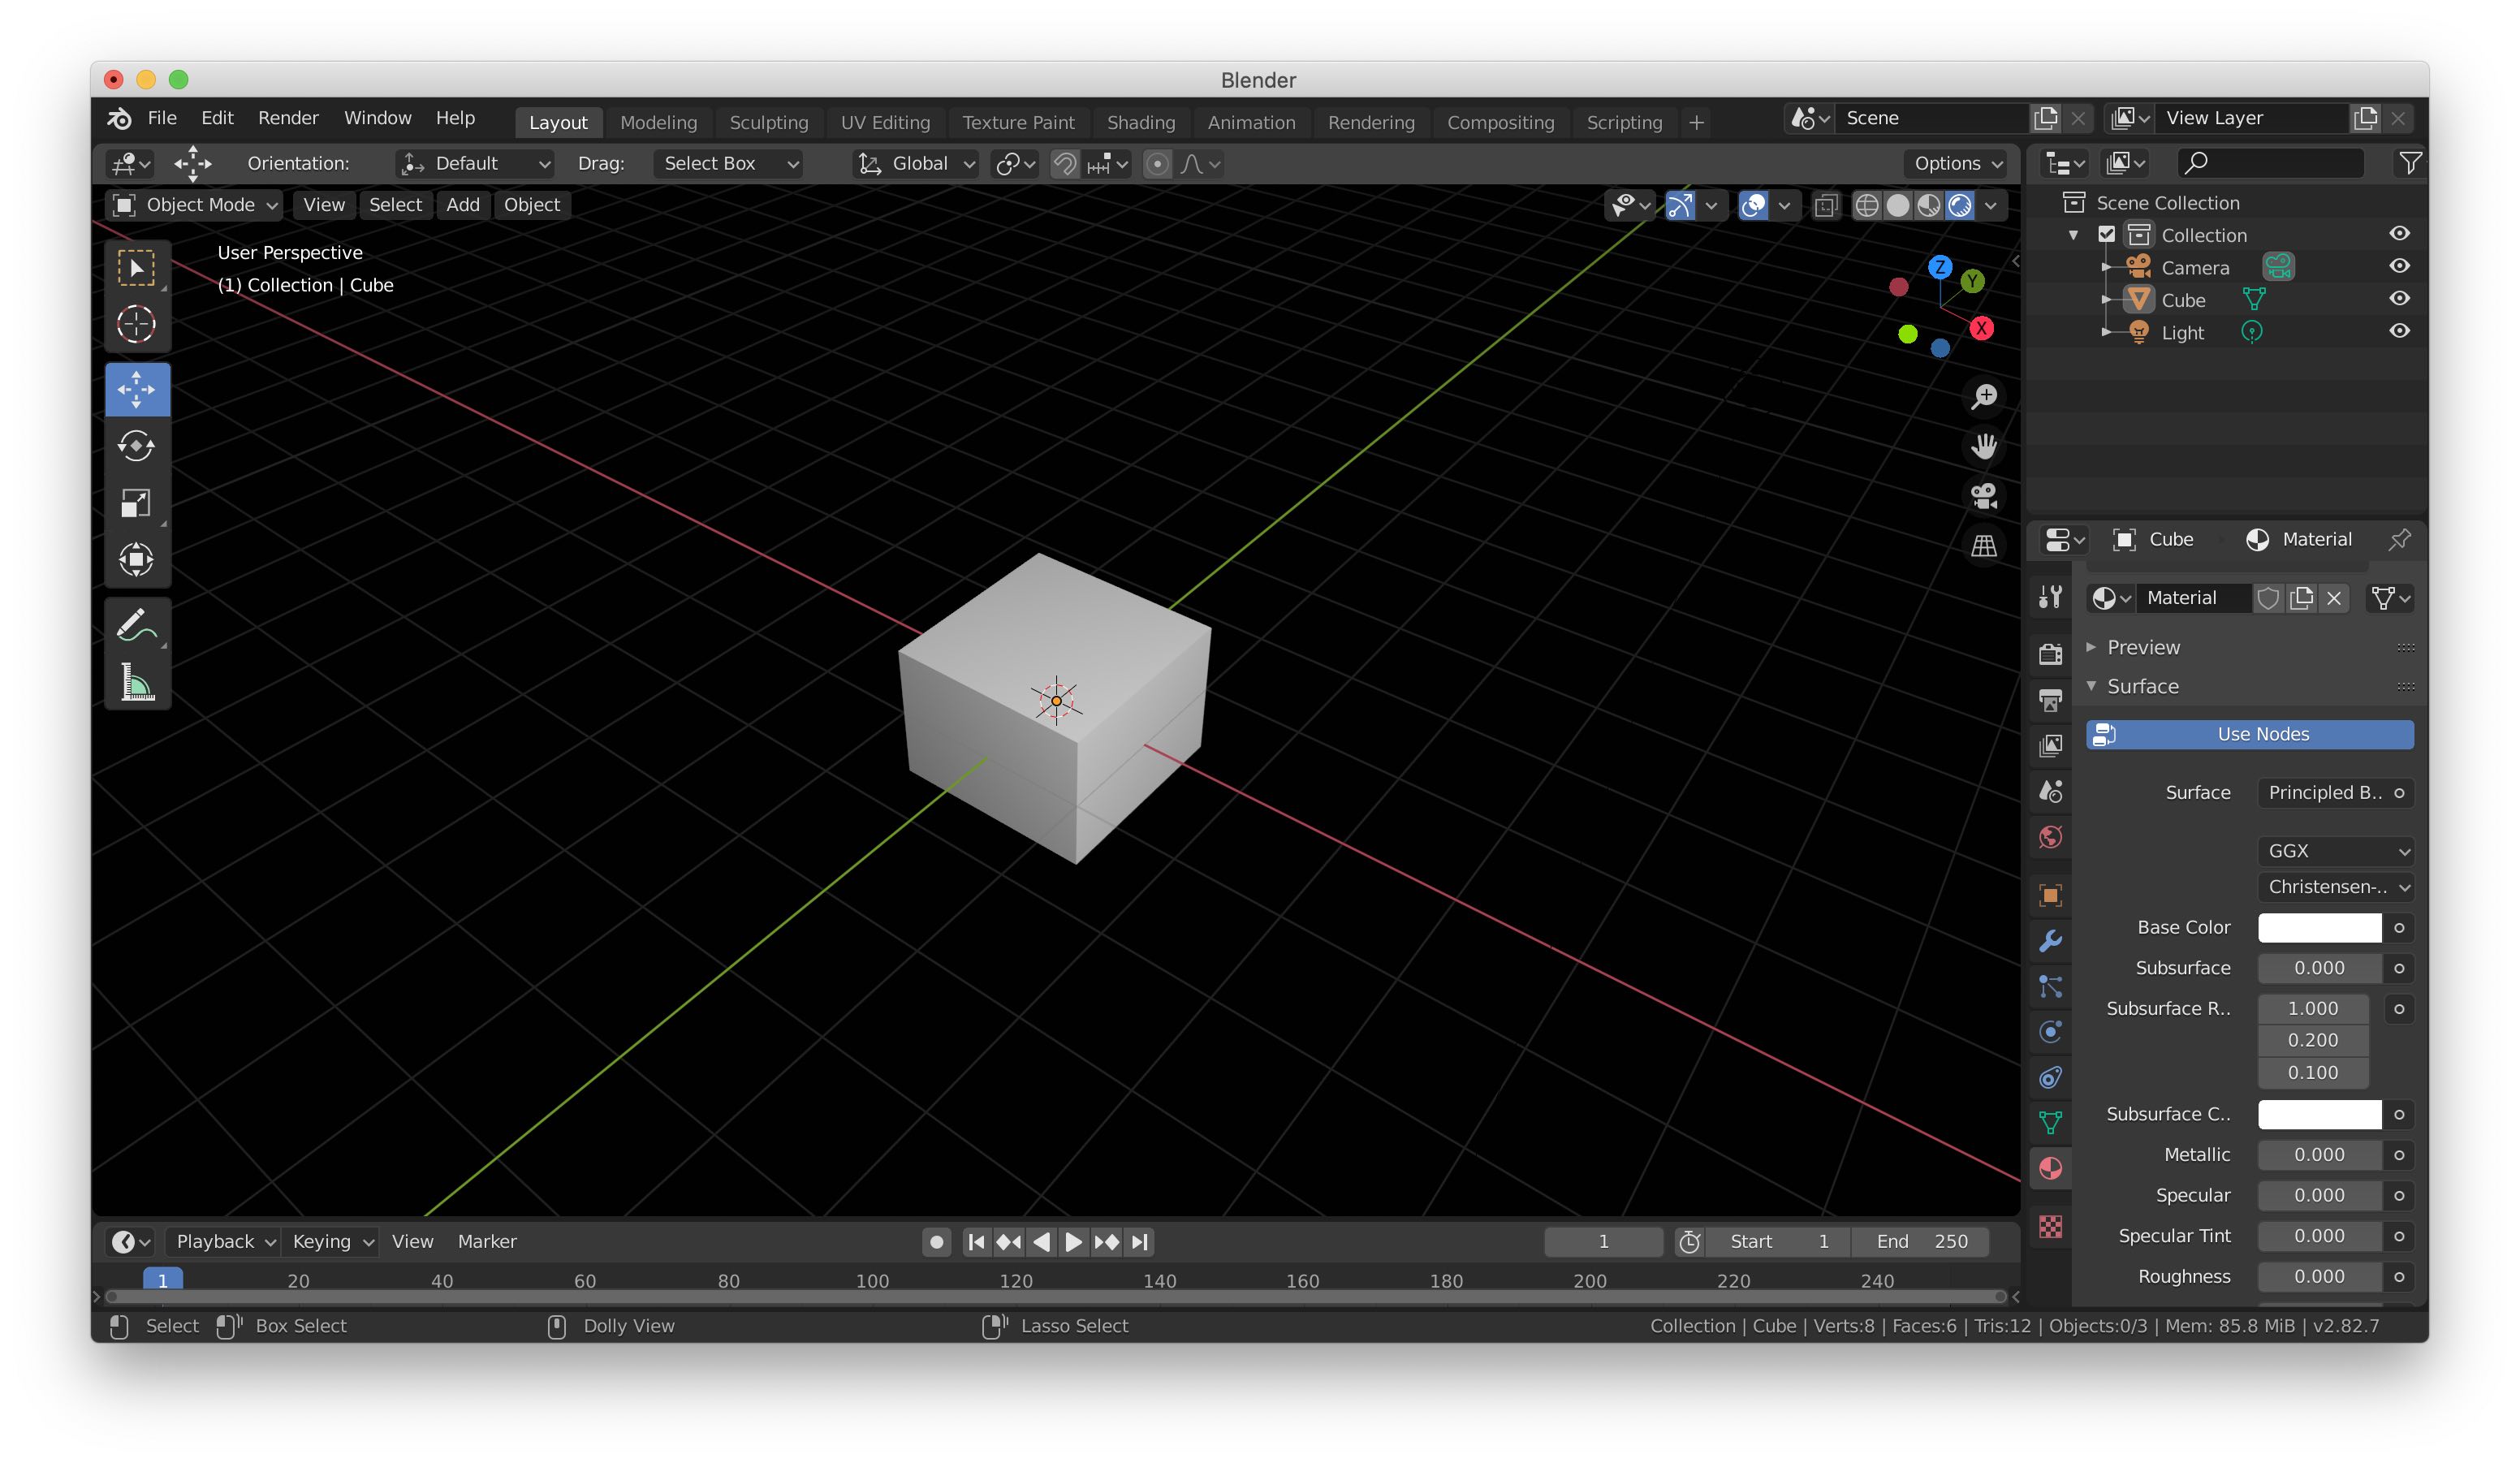
The cube in our reference image is white with a black background. So, we give the world around our cube a pitch black color, and we color the cube white. Similar to that of our reference photo, our cube has its material properties configured so that it reflects just the right amount of light. Too reflective and it could appear metallic. Too rough and it could appear to be made of fabric.
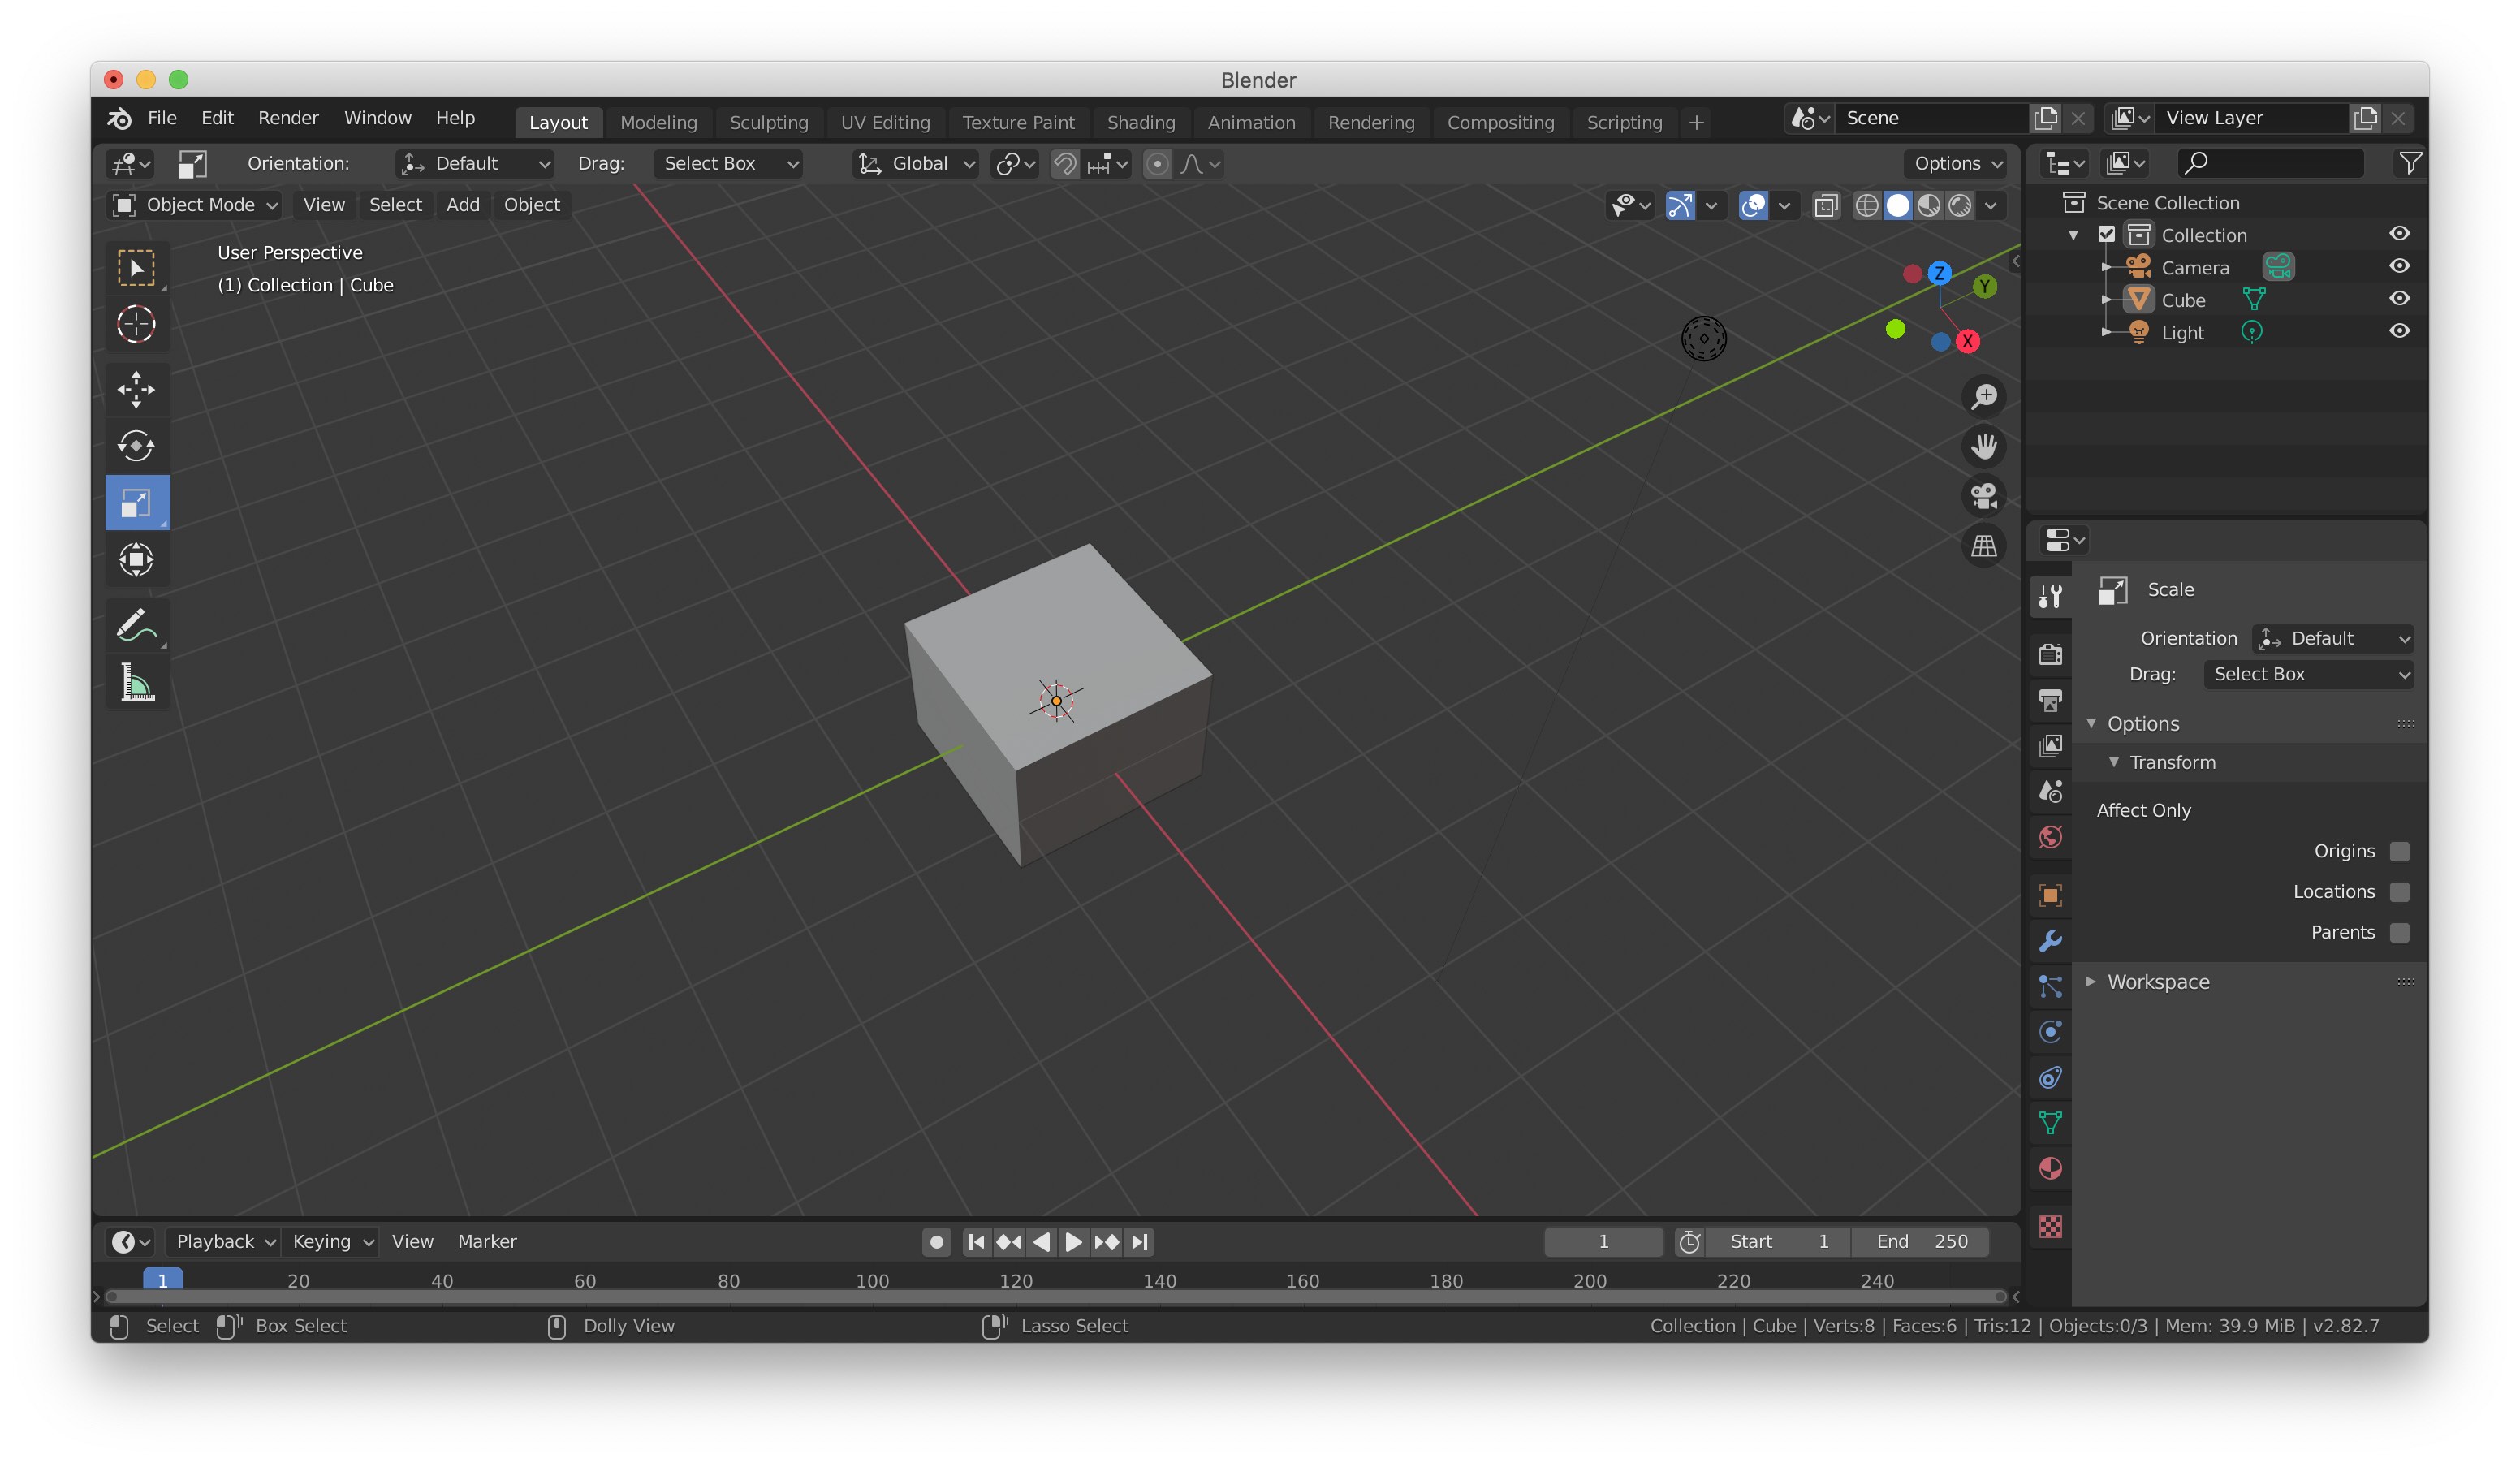
4. Positioning the Light
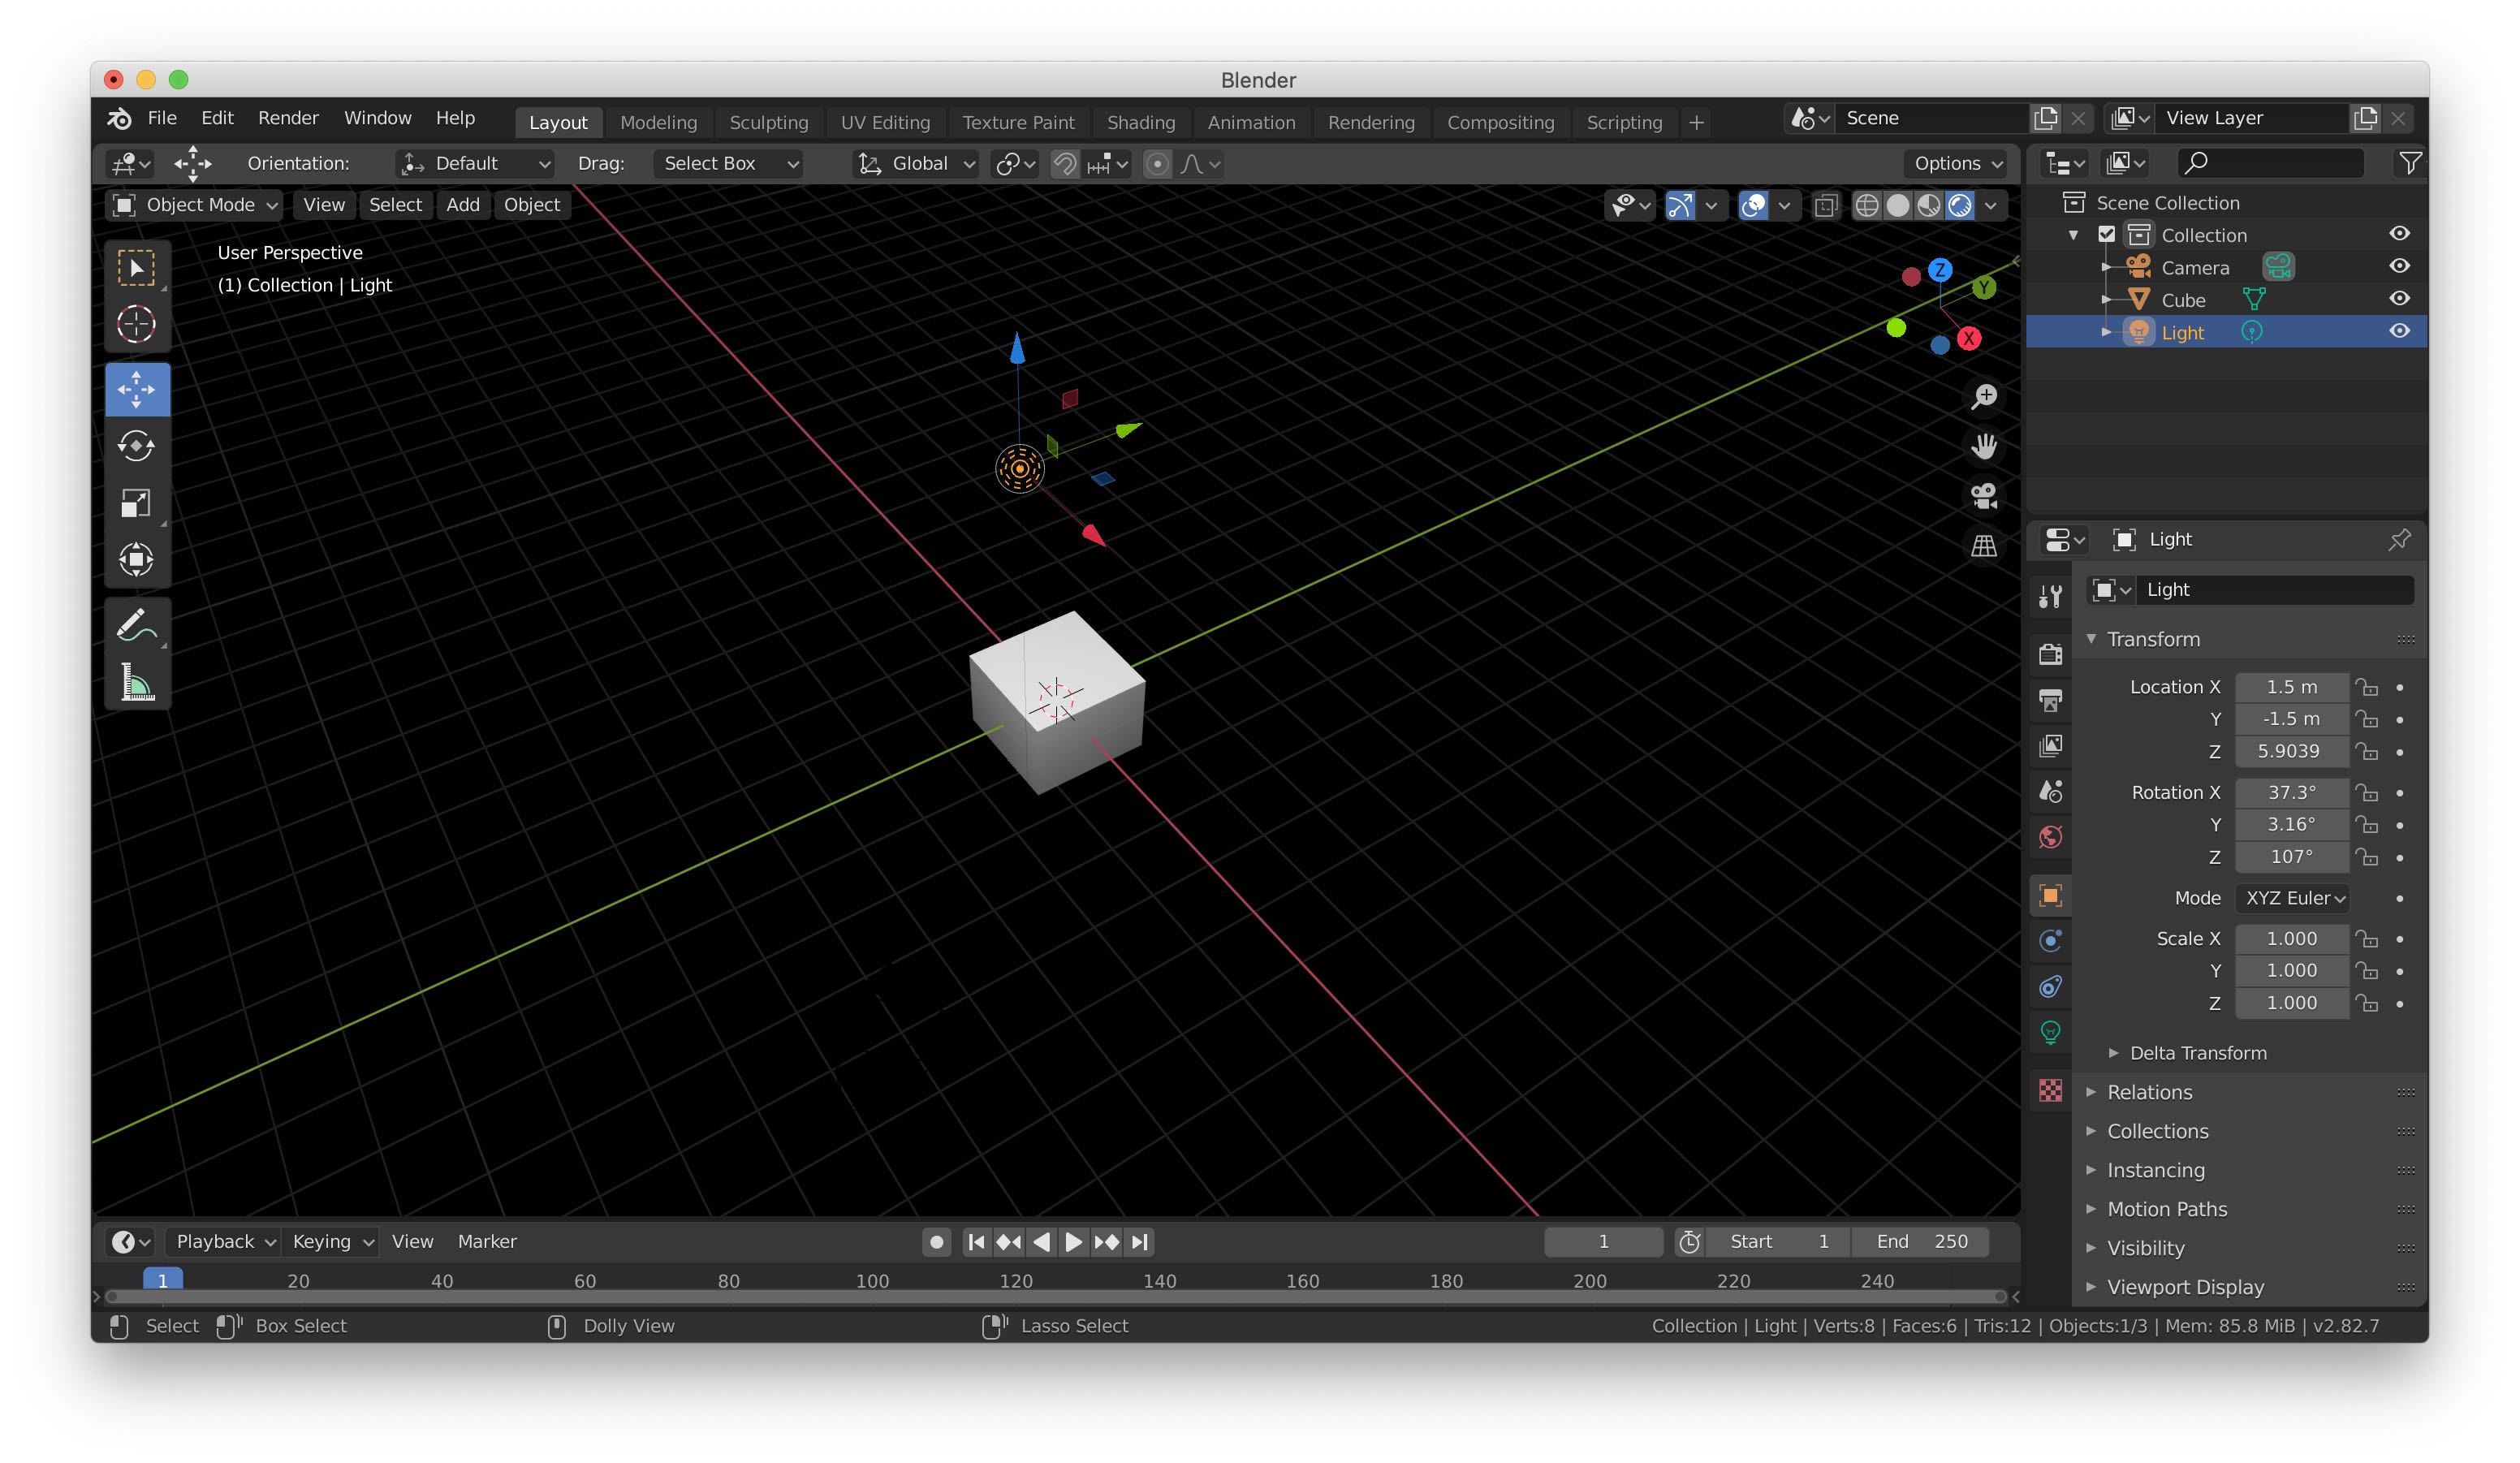
By default, our light emits white light, so we don't need to change that at the moment. But, it was previously casting shadows on our cube that caused it to appear different from the cube in our reference image. So, we can move the light around until the cube and the shadows casted on its faces look like those in our reference image.
5. Positioning the Camera
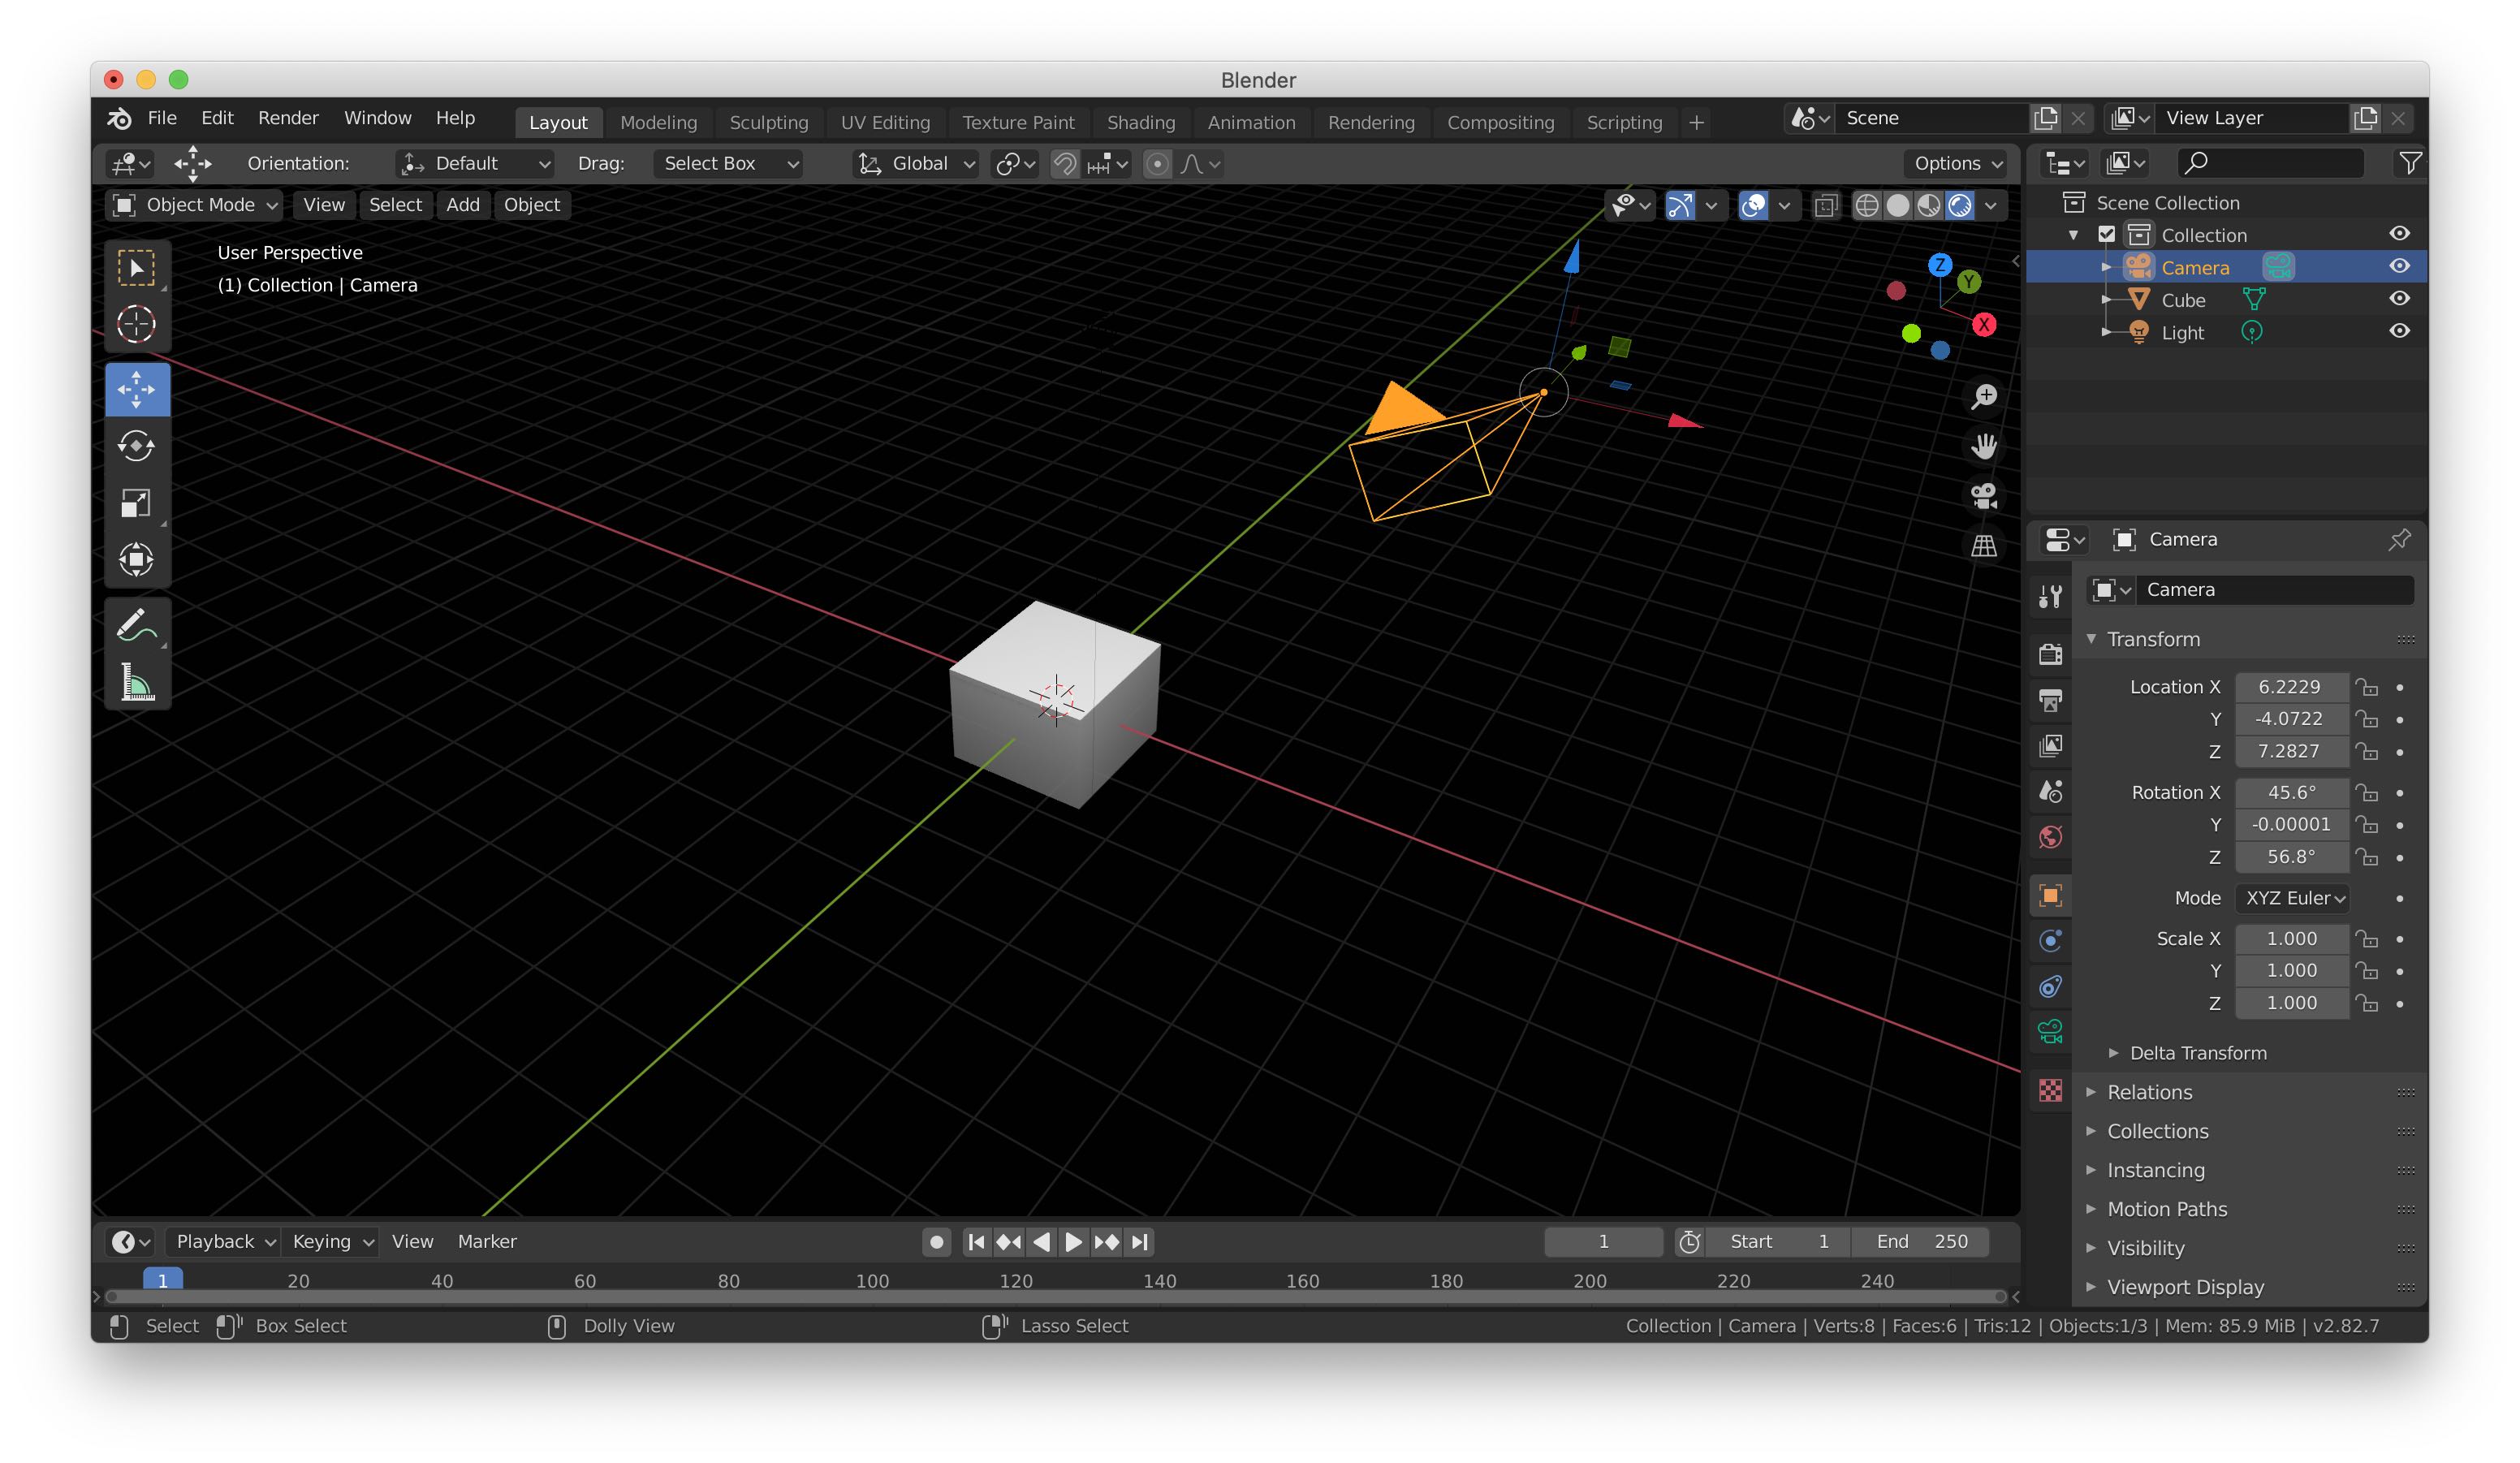
Our scene looks pretty good now, but, when we look at it from the perspective of the camera, things don't look right. To fix this, we move the camera into a position similar to where we imagine the camera was in our reference, relative to its cube.
6. Previewing the Render
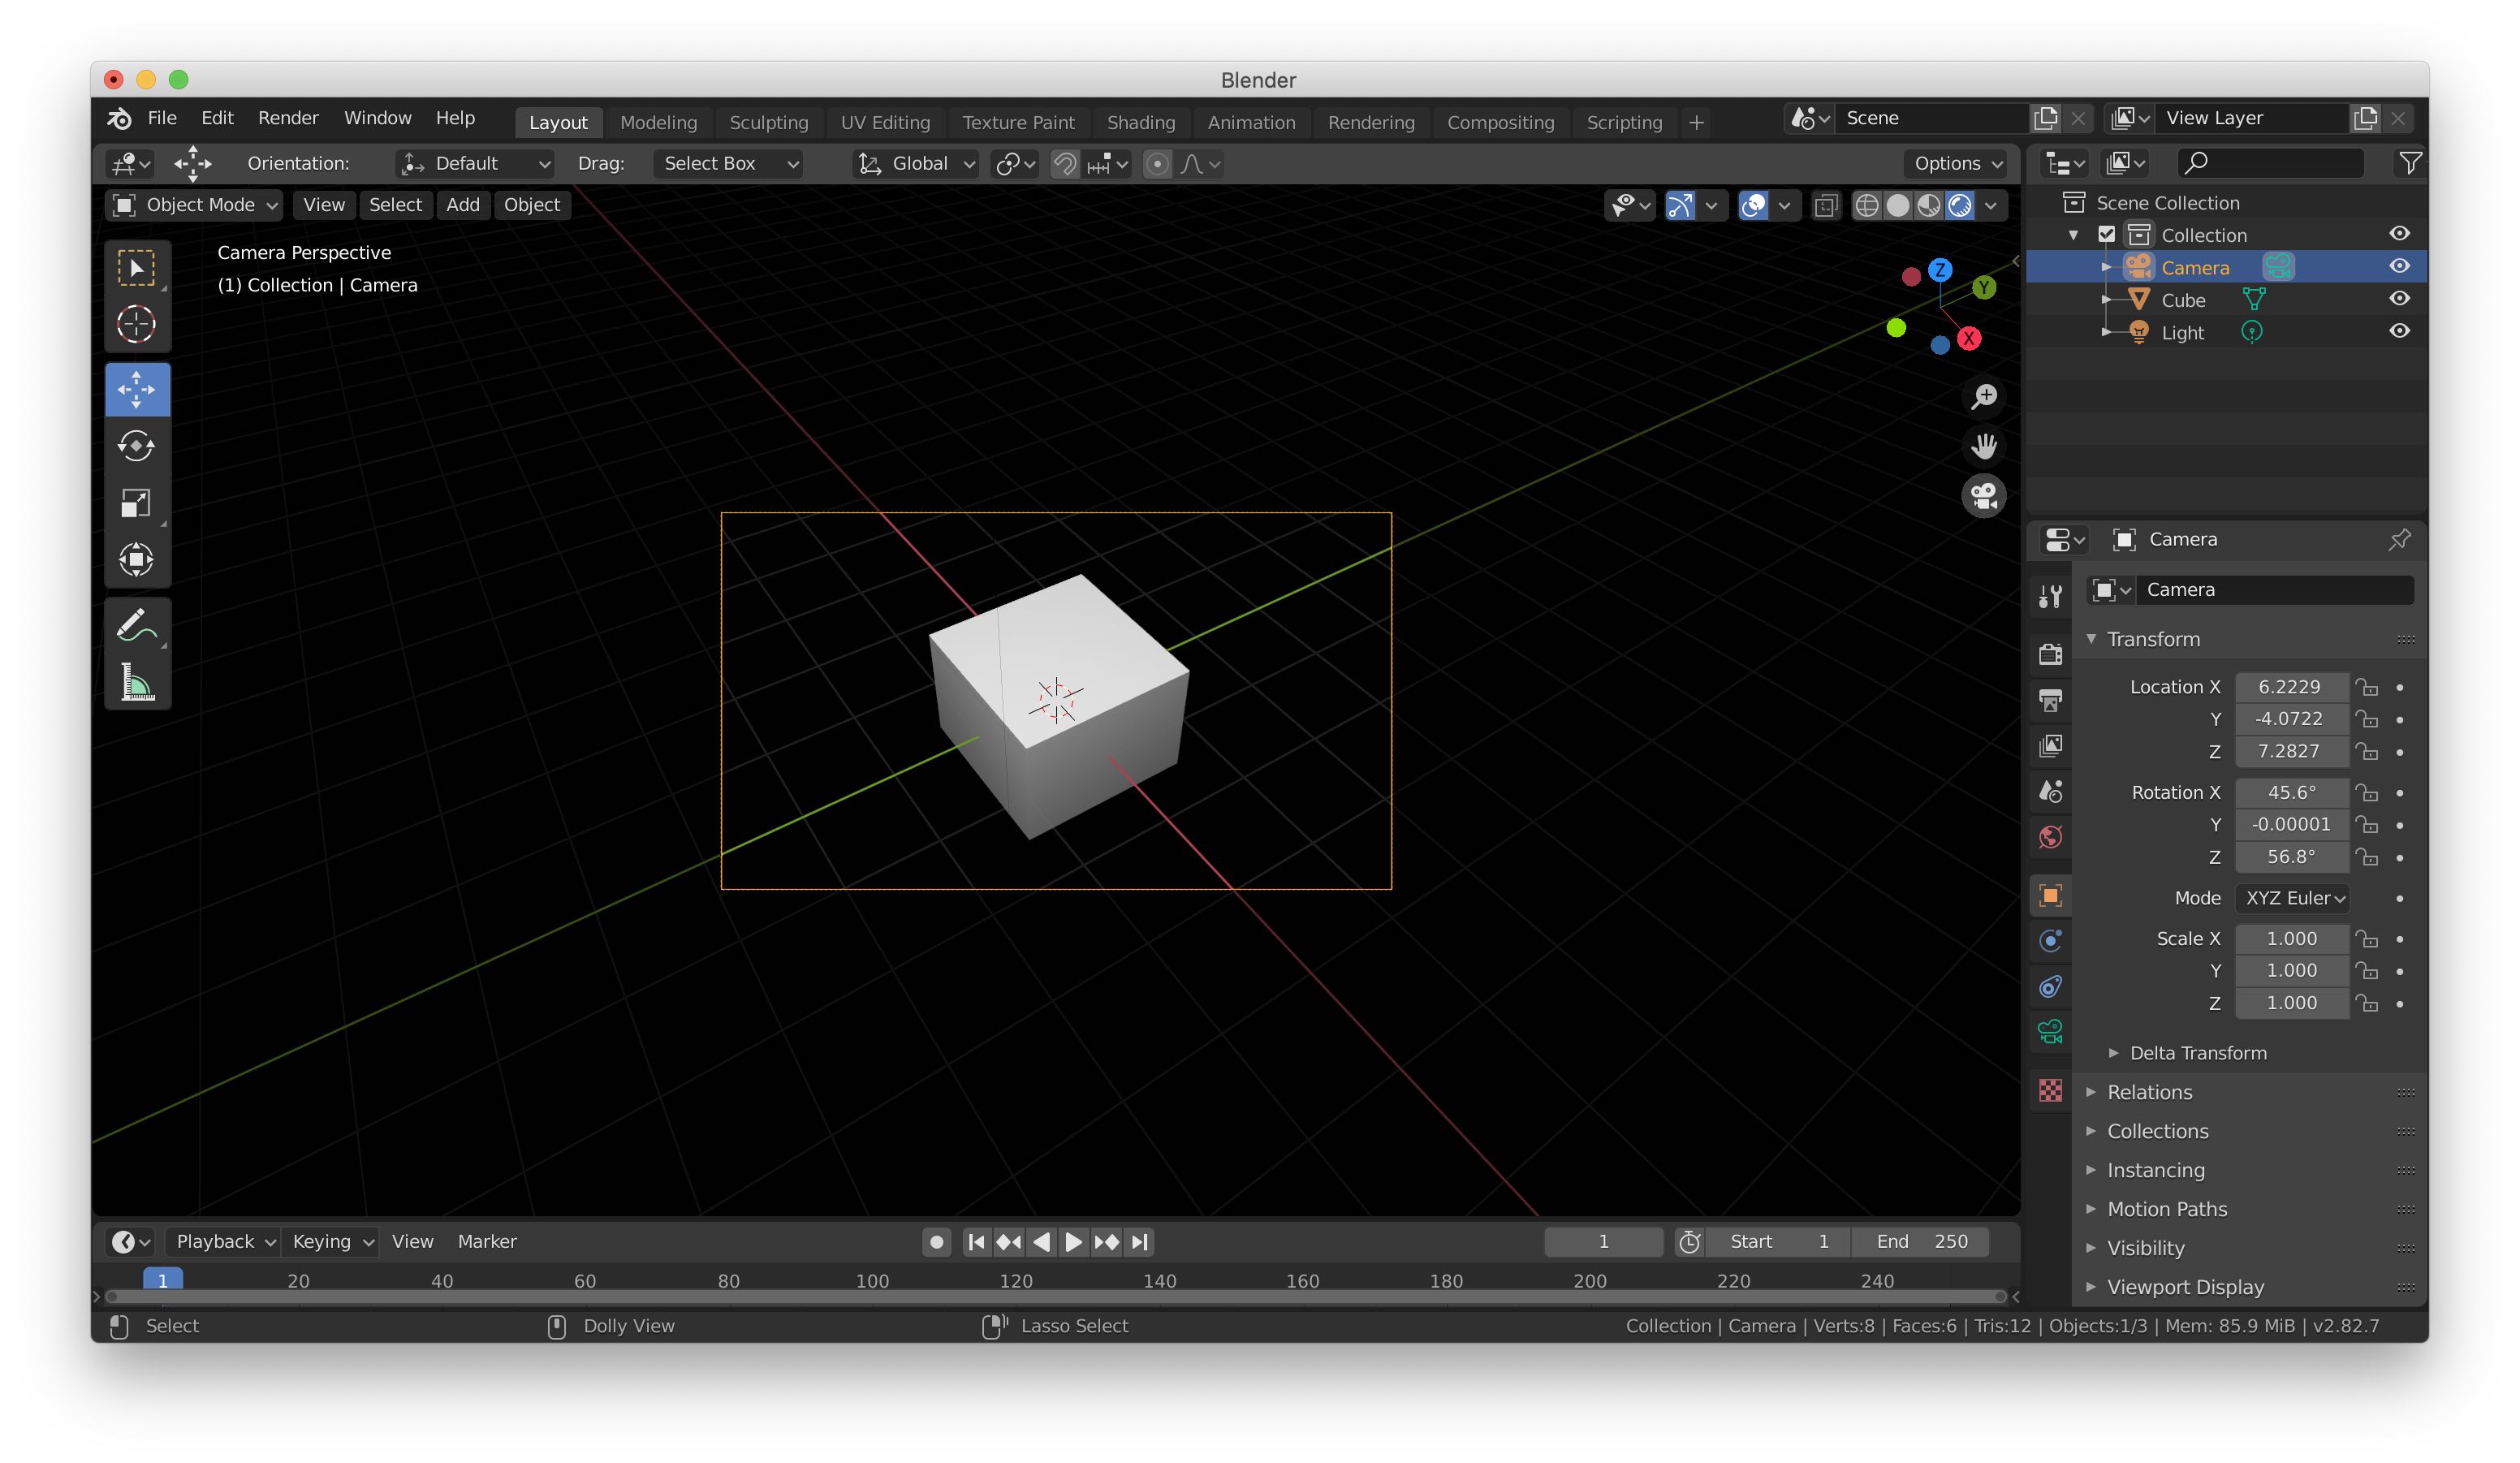
To make sure that we've positioned the camera in the right place, we can preview what the scene looks like from its perspective. In this case, it looks fine, so the scene is ready for rendering!
7. Rendering the Scene
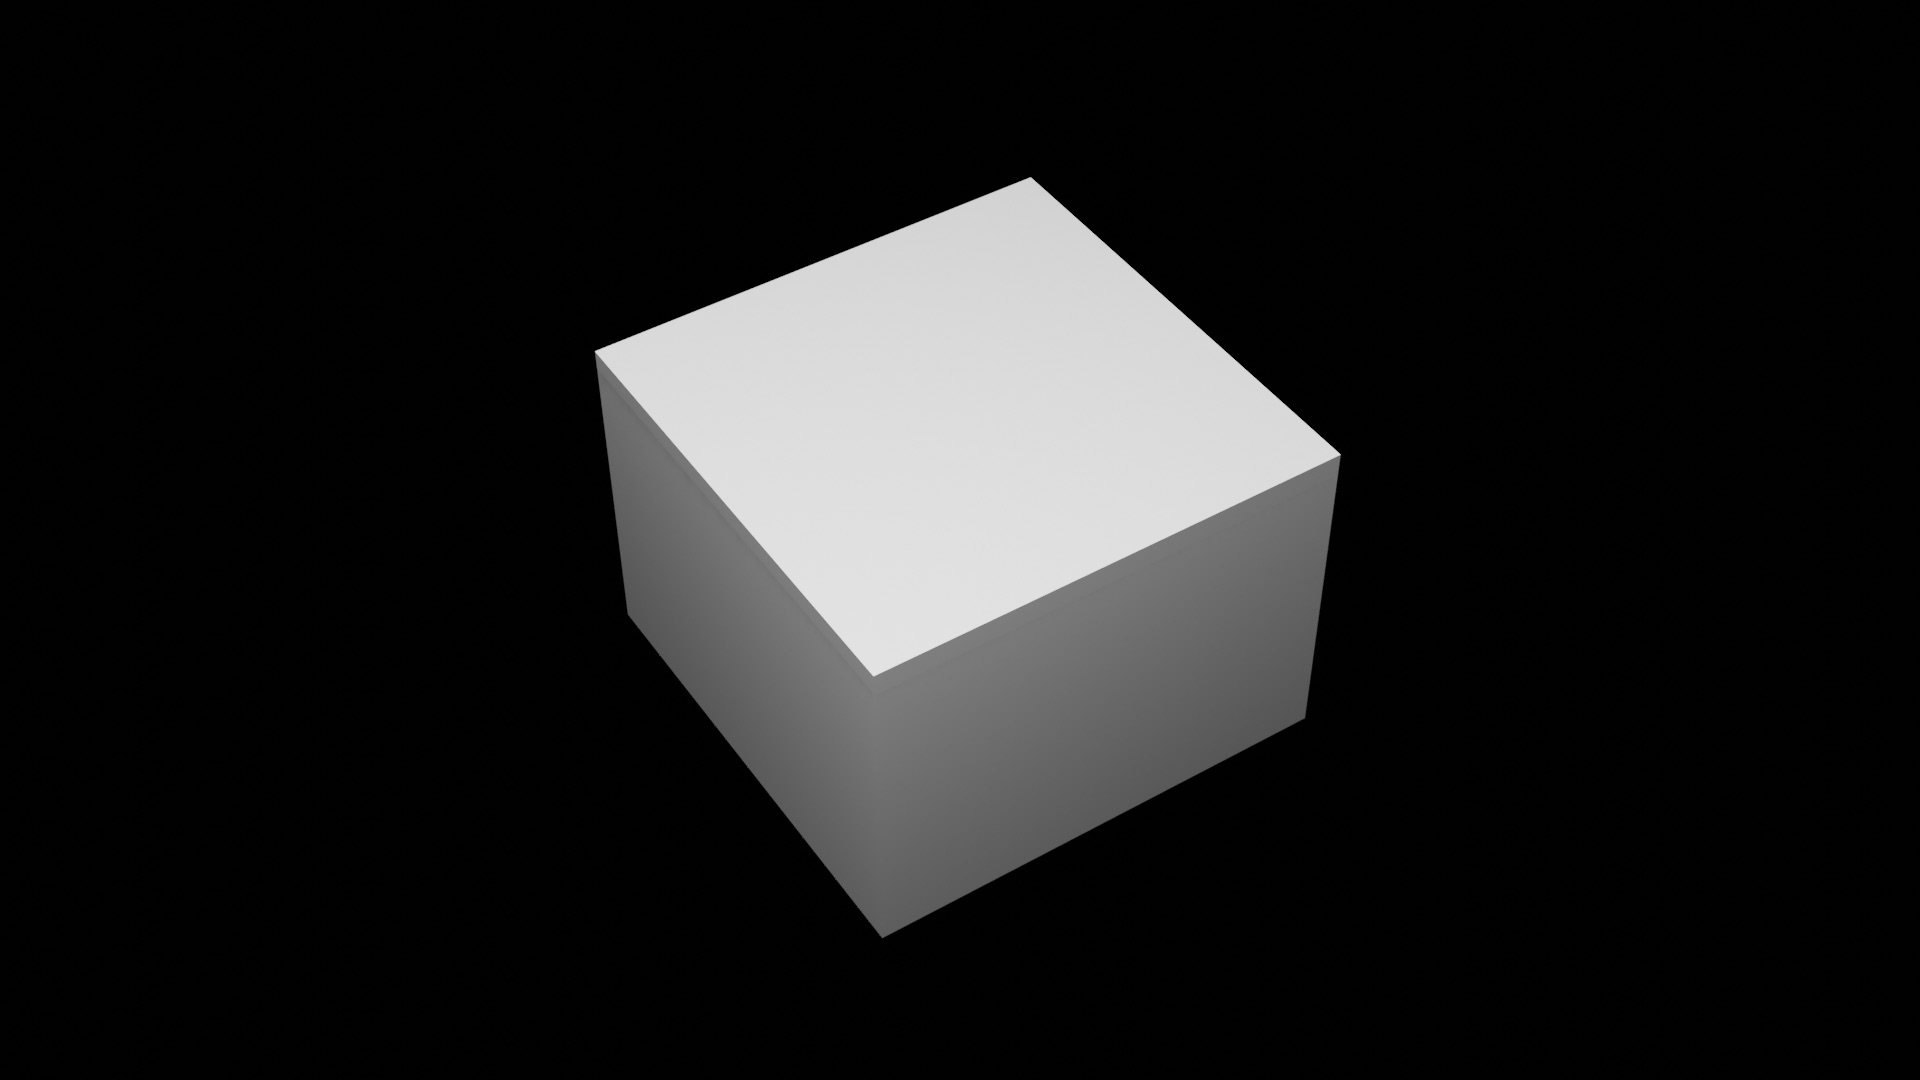
In 3D design, rendering a scene is the act of capturing objects in the scene from the perspective of the camera and outputting the result to a desired media format. The most common of these formats are videos and still images. In our case, we've rendered our scene to a normal still image. If we so pleased, we could have decided to animate the the position, size, or orientation of the cube or camera during rendering and outputted it to a video. For some added effects, we could even add some sound!
Wrapping Up
Ultimately, I think our render is very similar to the reference image that we tried to model. There are some details that we ignored for the sake of brevity, like rounding some corners and edges and brightening the light, but the general idea is still here.
Everyday 3D design can get even more complex and exciting, though. Designers often get creative with perspective, physics, shading/materials, sound, and so much more to bring ideas to life. Just imagine all of the lighting, modeling detail, and camera work in addition to other aspects that went into creating a large work like The Incredibles or your favorite 3D animated work.