Making The Orb
How and Why I Made a Fantasy Artifact
I found a lot of surrealist fantasy content the other day. There were eerie, mysterious scenes that that highlighted artifacts and architecture that didn't appear to be from this world. Such scenes inspired me to make a piece of my own, and of course I used this as another opportunity to practice my 3D skills.
I remember in my free time I'd found an environment building tutorial by Ducky3D. As a part of designing an artifact in the scene, he'd given it a Voronoi type of texture and a beautiful emissive hue. Captivated by such a small detail, I'd applied it to my own scene.
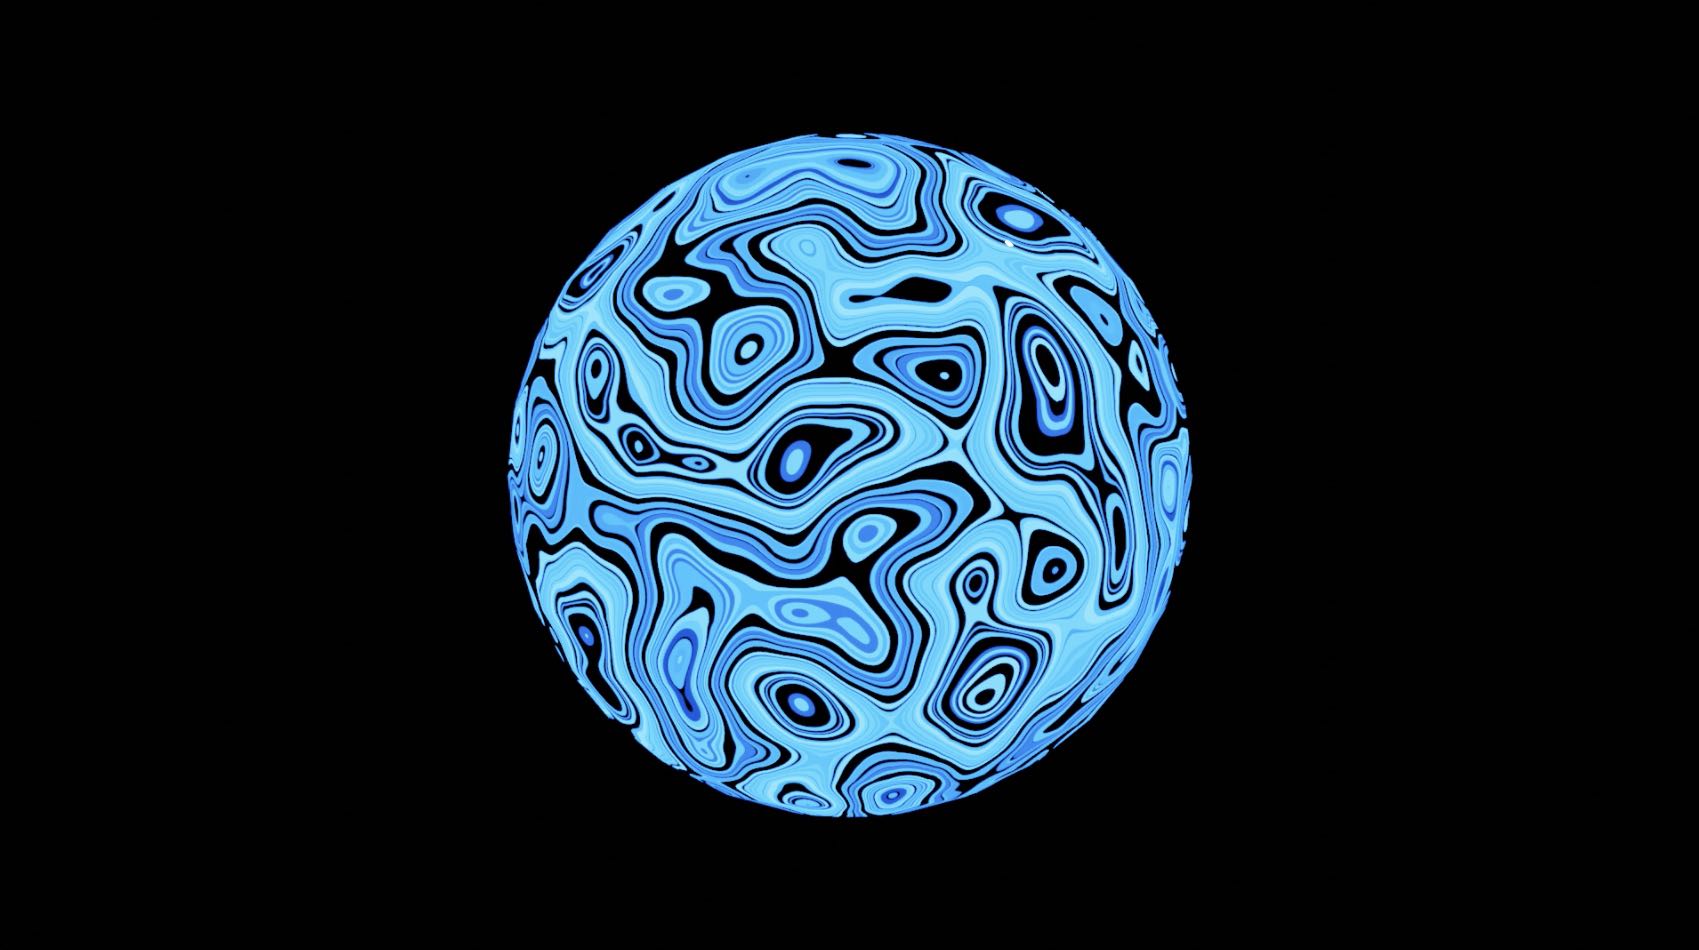
I decided to make the only subject of my scene an orb: a spherical artifact that had an ominous power to it. I wanted it to distract, or rather, suck in the viewer such that it entrances them. I did this by using light, motion, and especially sound to immerse the viewer in the piece so that they feel as if they're witnessing the Orb's energy, its presence, firsthand.
With that being said, I opened up Blender and got to work bringing the idea to life. Actions like adding a sphere to the scene and having it shade smooth when rendered didn't require any help. I consulted the Internet, however, to learn how to shade the sphere so that it became The Orb as we know it. I wired together some nodes in Blender's Shader Editor and quickly saw my idea in front of my eyes.
The background of the scene was still that default gray, and that wasn't good enough to keep. I searched how to change the background of Blender scenes and learned that it's possible to apply shaders to the World. I chose a simple black color to shade the World, and at this point I was approaching a finished product. My next step was to animate the Orb rotating about its center.
I'd never animated object attributes in Blender so I also consulted the Internet for such knowledge. The controls seemed a bit daunting at first, like many workflows in the tool, but with enough carefulness and taps of the undo button it became a somewhat familiar process. I tried to do some math with the animation duration and the number of frames so that I could get a perfect loop once the render had completed. After previewing the animated render, I had what I wanted, and the next step was to render it to a video file.
I was happy to be tweaking certain export settings like the video's frames per second, dimensions, encoding, and file type. When I went to render the animation, I was met with a frustration that's common in the industry: my render took forever.
Rendering a 4 second animation with Cycles and it’s looking like it’ll take a while
— Nash (刘光瑞) (@aunyks) August 29, 2020
I was using the Cycles render engine, which is known for allowing for more realistic renders at the expense of render speed. Even though I was rendering just 4 seconds of footage, rendering a 1920px x 1080px video at 60 frames per second was just too demanding for my laptop. It took 2 mimutes for one frame to render. With 239 frames to render in total, I'd be waiting about 8 hours for a 4 second video.
I stopped the render and tried to tweak some settings to speed it up. I kept using Cycles, because I'd heard the render quality is that much different than the default, Eevee. I changed some render settings in hopes of seeing a performance boost, but when I went to render again I was waiting 1.5 minutes for each frame.
With enough frustration, I told myself to suck up whatever difference in quality rendering in Eevee could have and to use it. This is when I was struck with awe. When going to render with Eevee, frames were rendering in less than a second. The render was moving so fast that I could see the animation in front of my eyes. When the final video was complete, I saw no noticeable difference in quality. This is likely because of the simplicity of my scene, but I later learned that Eevee was designed to be a high performance realtime render engine, meaning that it's supposed to have the solid render quality with a significant speed boost. This certainly worked to my advantage, and I was very satisfied with the result.
The visuals alone were captivating, but a truly entrancing experience would also need accompanying sound. So, I opened Garageband and picked three instruments to loop to create an eerie sonic environment. Together they had an effect that, in a way, lets you feel the energy of the Orb. Once I'd gotten a solid loop, I exported it as an MP3 file, opened it in iMovie with the video, and brought the two together.
In the end, I'm very satisified with what I'd come up with and what I'd learned! This project was lots of fun.
Tools Used
- Blender - Modeling the Orb, animating the Orb's motion, and baking the Orb's texture for export
- Garageband - Designing the sound used in the Orb's final video
- iMovie - Applying the audio to the video
- Spark AR Studio - Rendering the Orb in an Instagram filter
- Three.js - Rendering the Orb in the browser
Things Learned
- How to make basic procedural textures in Blender
- How to bake procedural textures into UV maps for use outside of Blender
- How to lay out and render basic animations in Blender